
Magic Box
One of my new year’s resolutions for 2020 was spending more time building happiness, and less time trying to buy it readymade.
In that spirit, this is the year I finally learnt to solder (thank you, mechanical keyboards obsession), and started dabbling with DIY electronics.
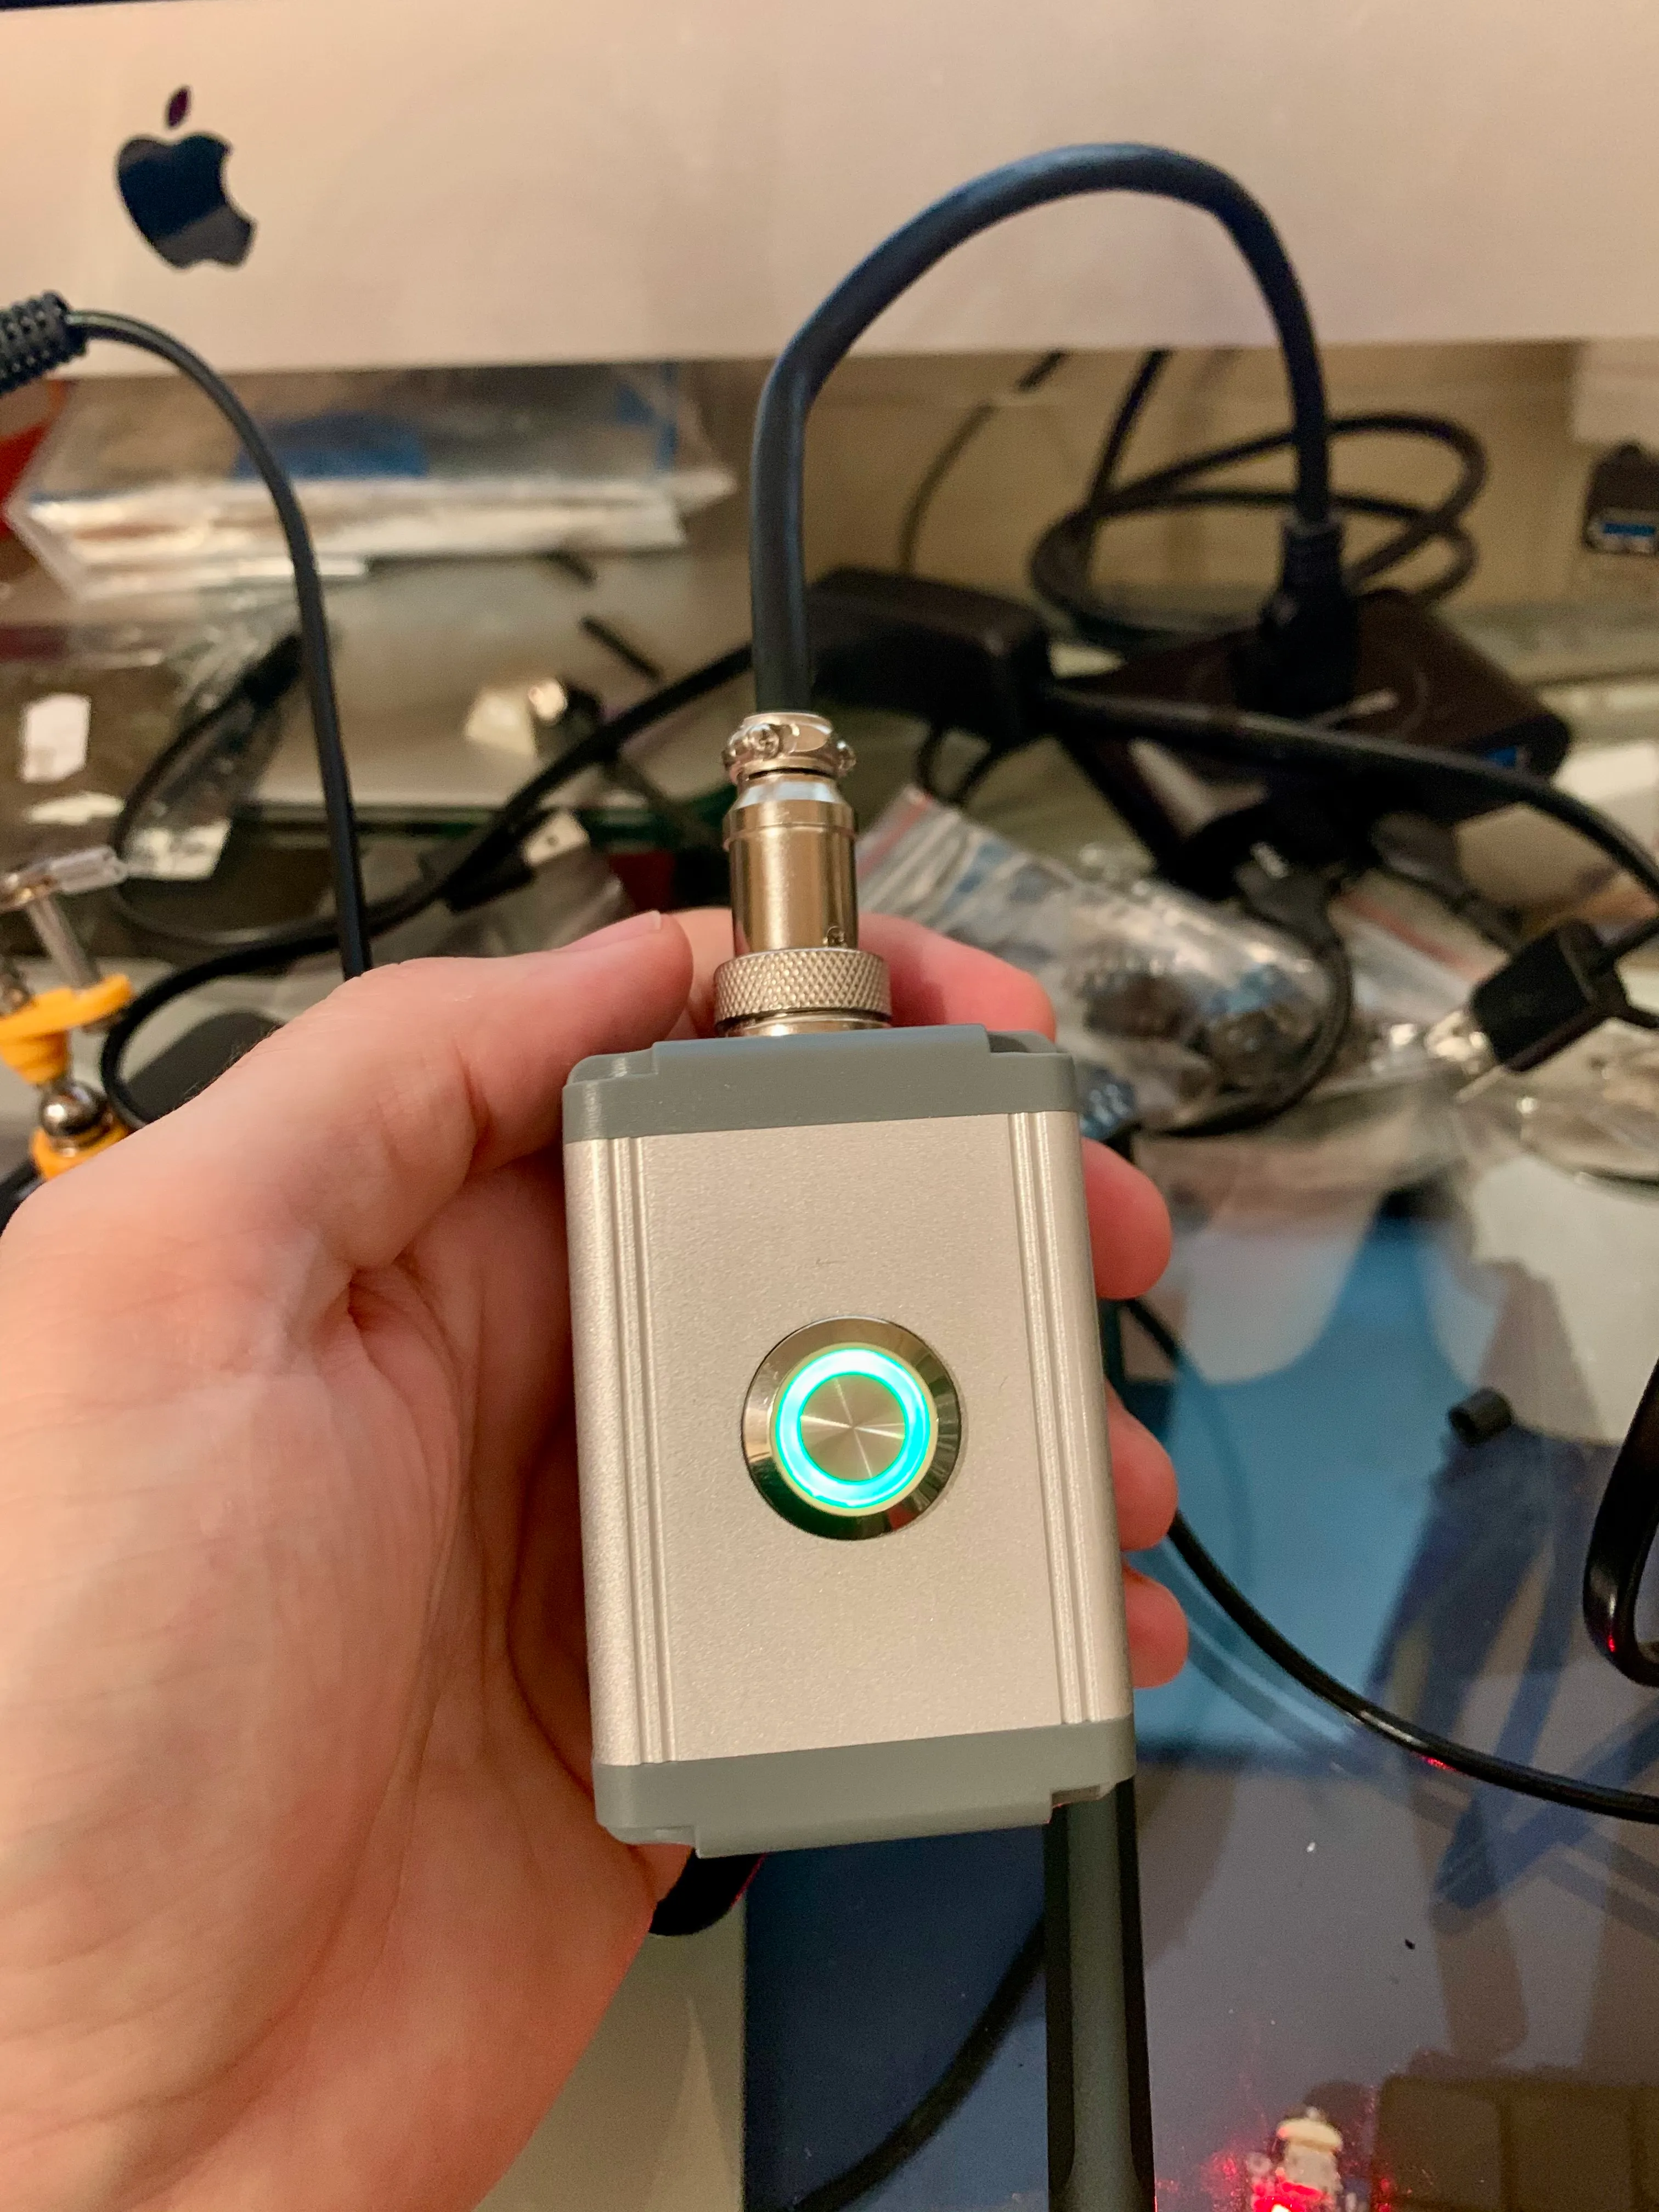
As an end of year project, I decided to build a Christmas gift for my wife (well, I actually planned on building it earlier in the year, but the parts took forever to arrive). It is a box that thinks it’s a keyboard. You plug it to a computer, and it types pseudo-random love sentences when you press the green button (they’re not really random, I just wrote a very large list of them and the box picks a different one every time).
Getting it into a state where I would not be ashamed of gifting it was a small odyssey, but totally worth the trouble just for the look on my wife’s face when she started using it on Christmas day’s morning.
Here’s hope 2021 will bring more opportunities for this sort of “non-productive” hacking.
Have a Merry Xmas y’all!
Some technical details
Disclaimer: this is in no way a full description of how to build the thing, just some notes I think might interest you in case you’re thinking about doing the same.
Bill of materials
This is an extremely basic device, and you can build a minimal version of it with a Pro Micro, two cables and a switch. Just find a nice box to throw everything inside, and call it a day. I got slightly more fancy with some parts, but only because I was going for a certain look. Here’s everything I used, with links to the providers I used:
- 1 x Arduino Pro Micro
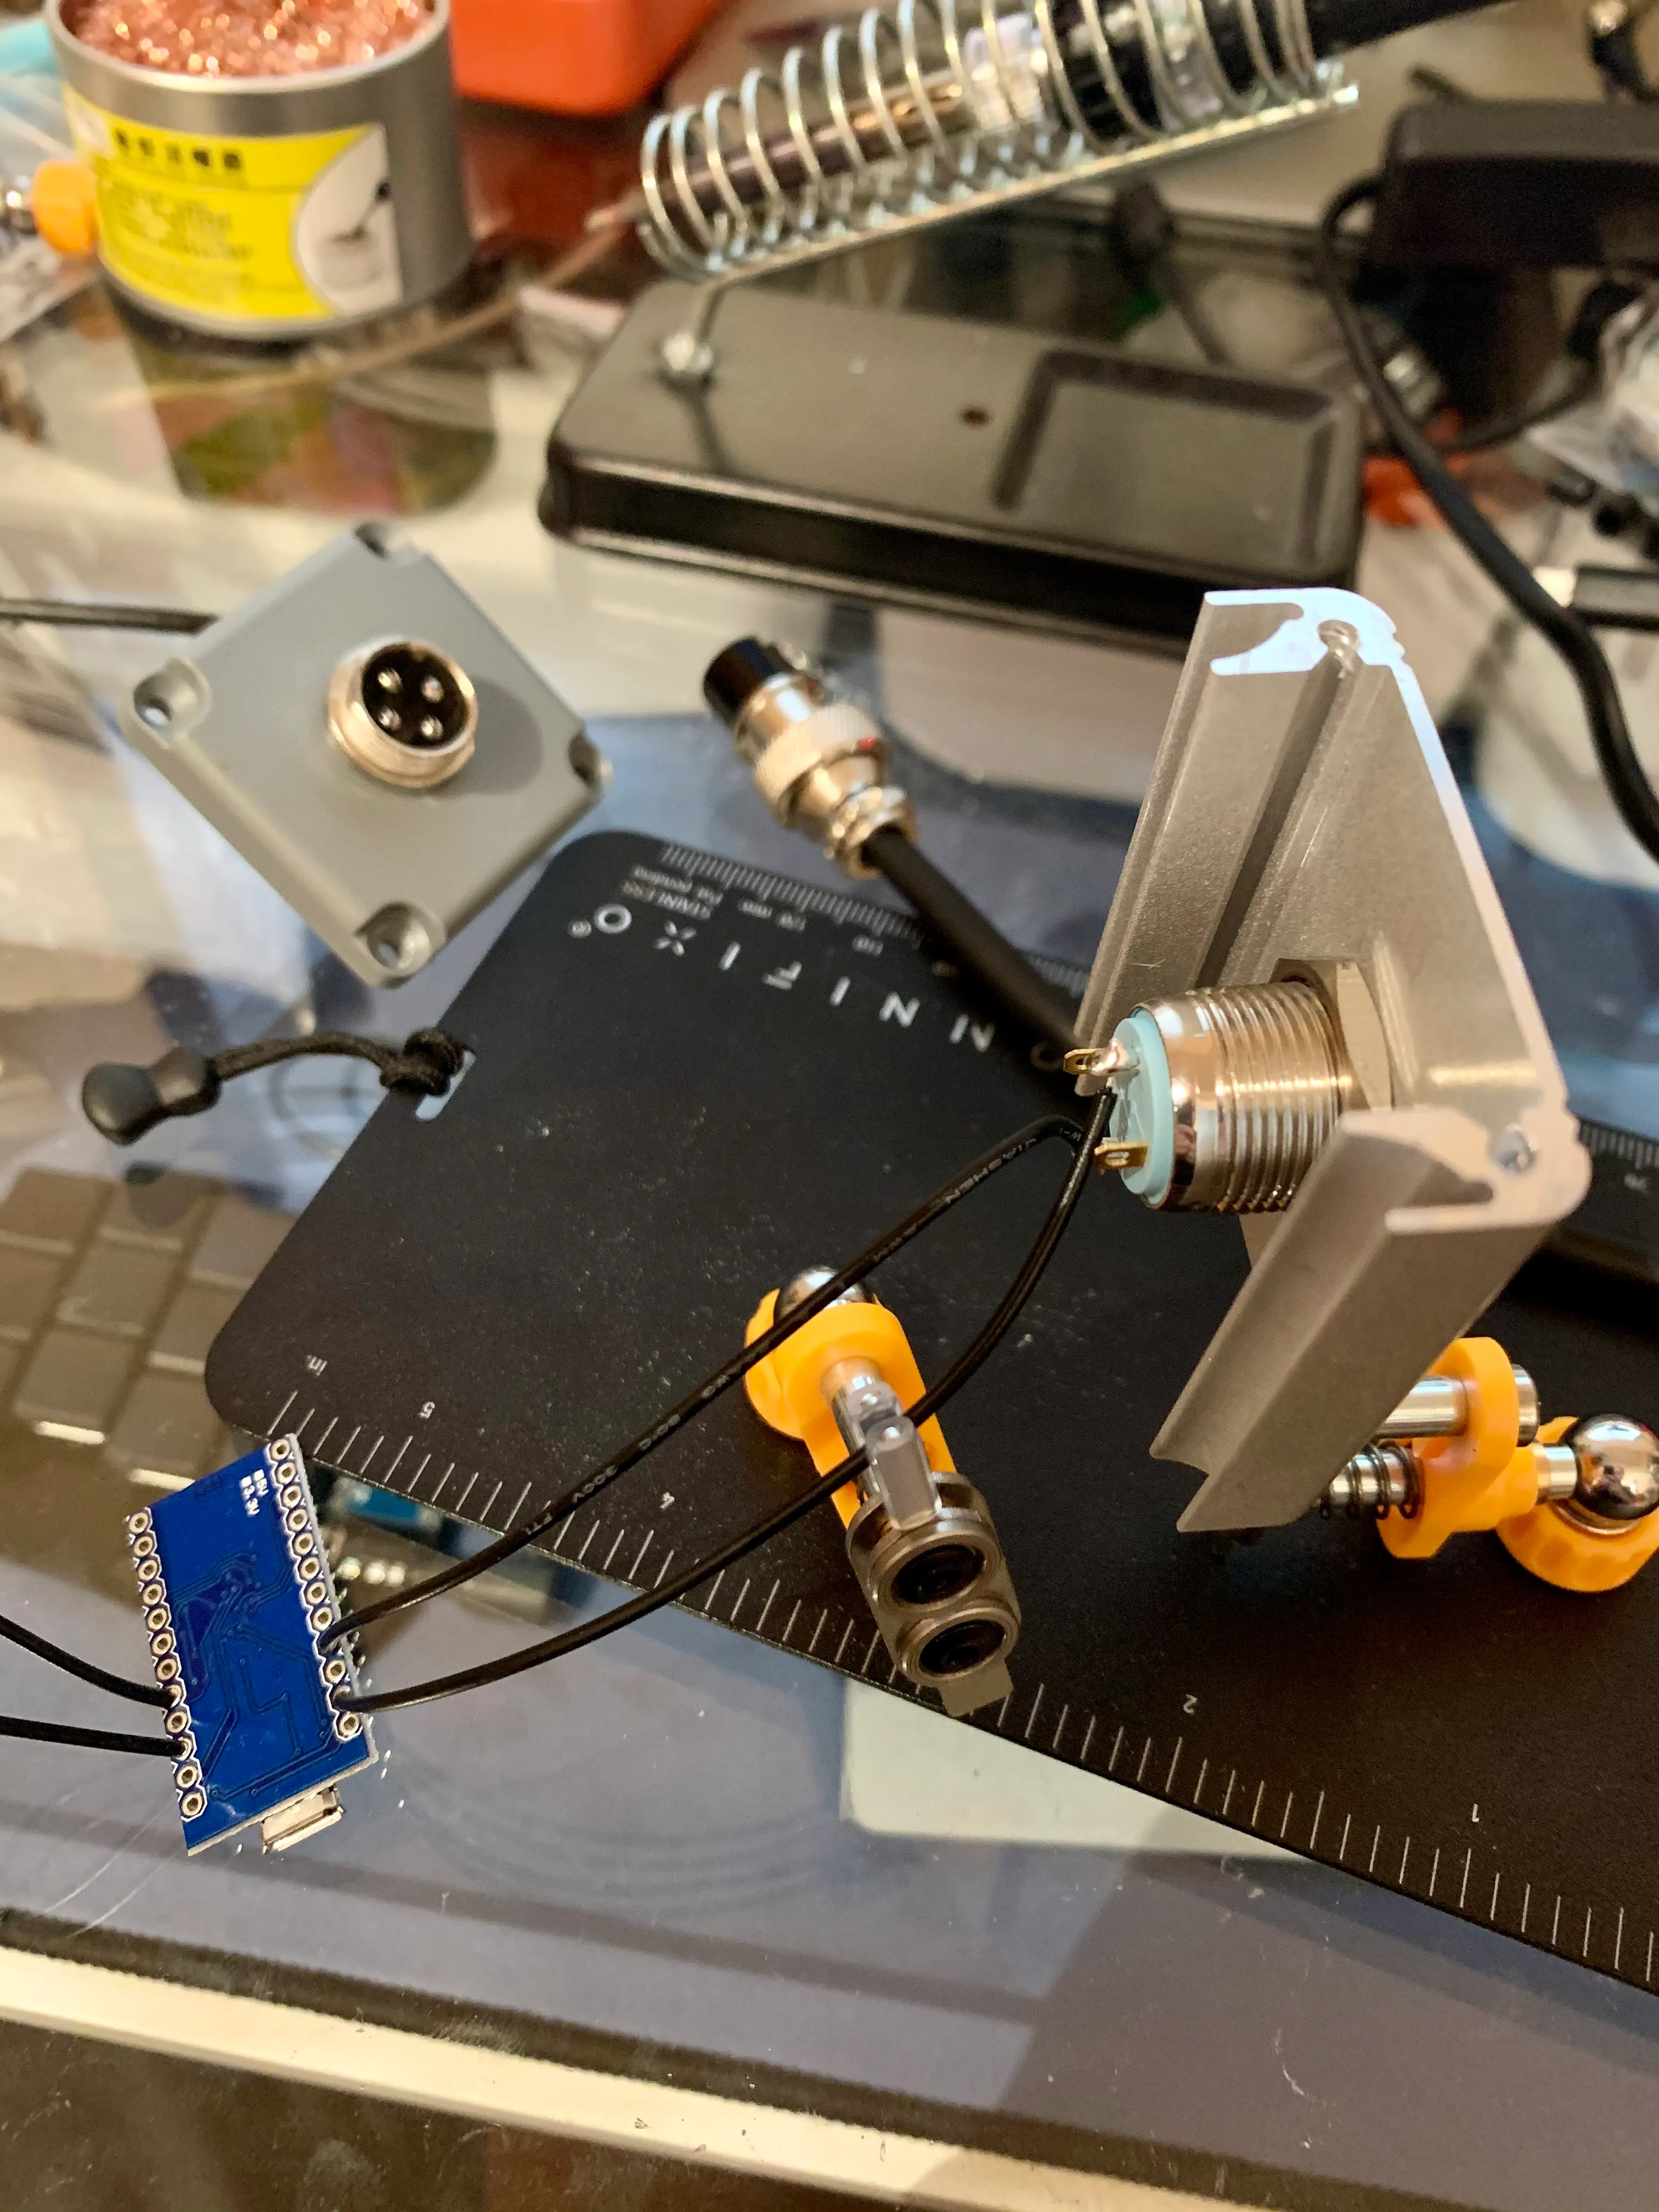
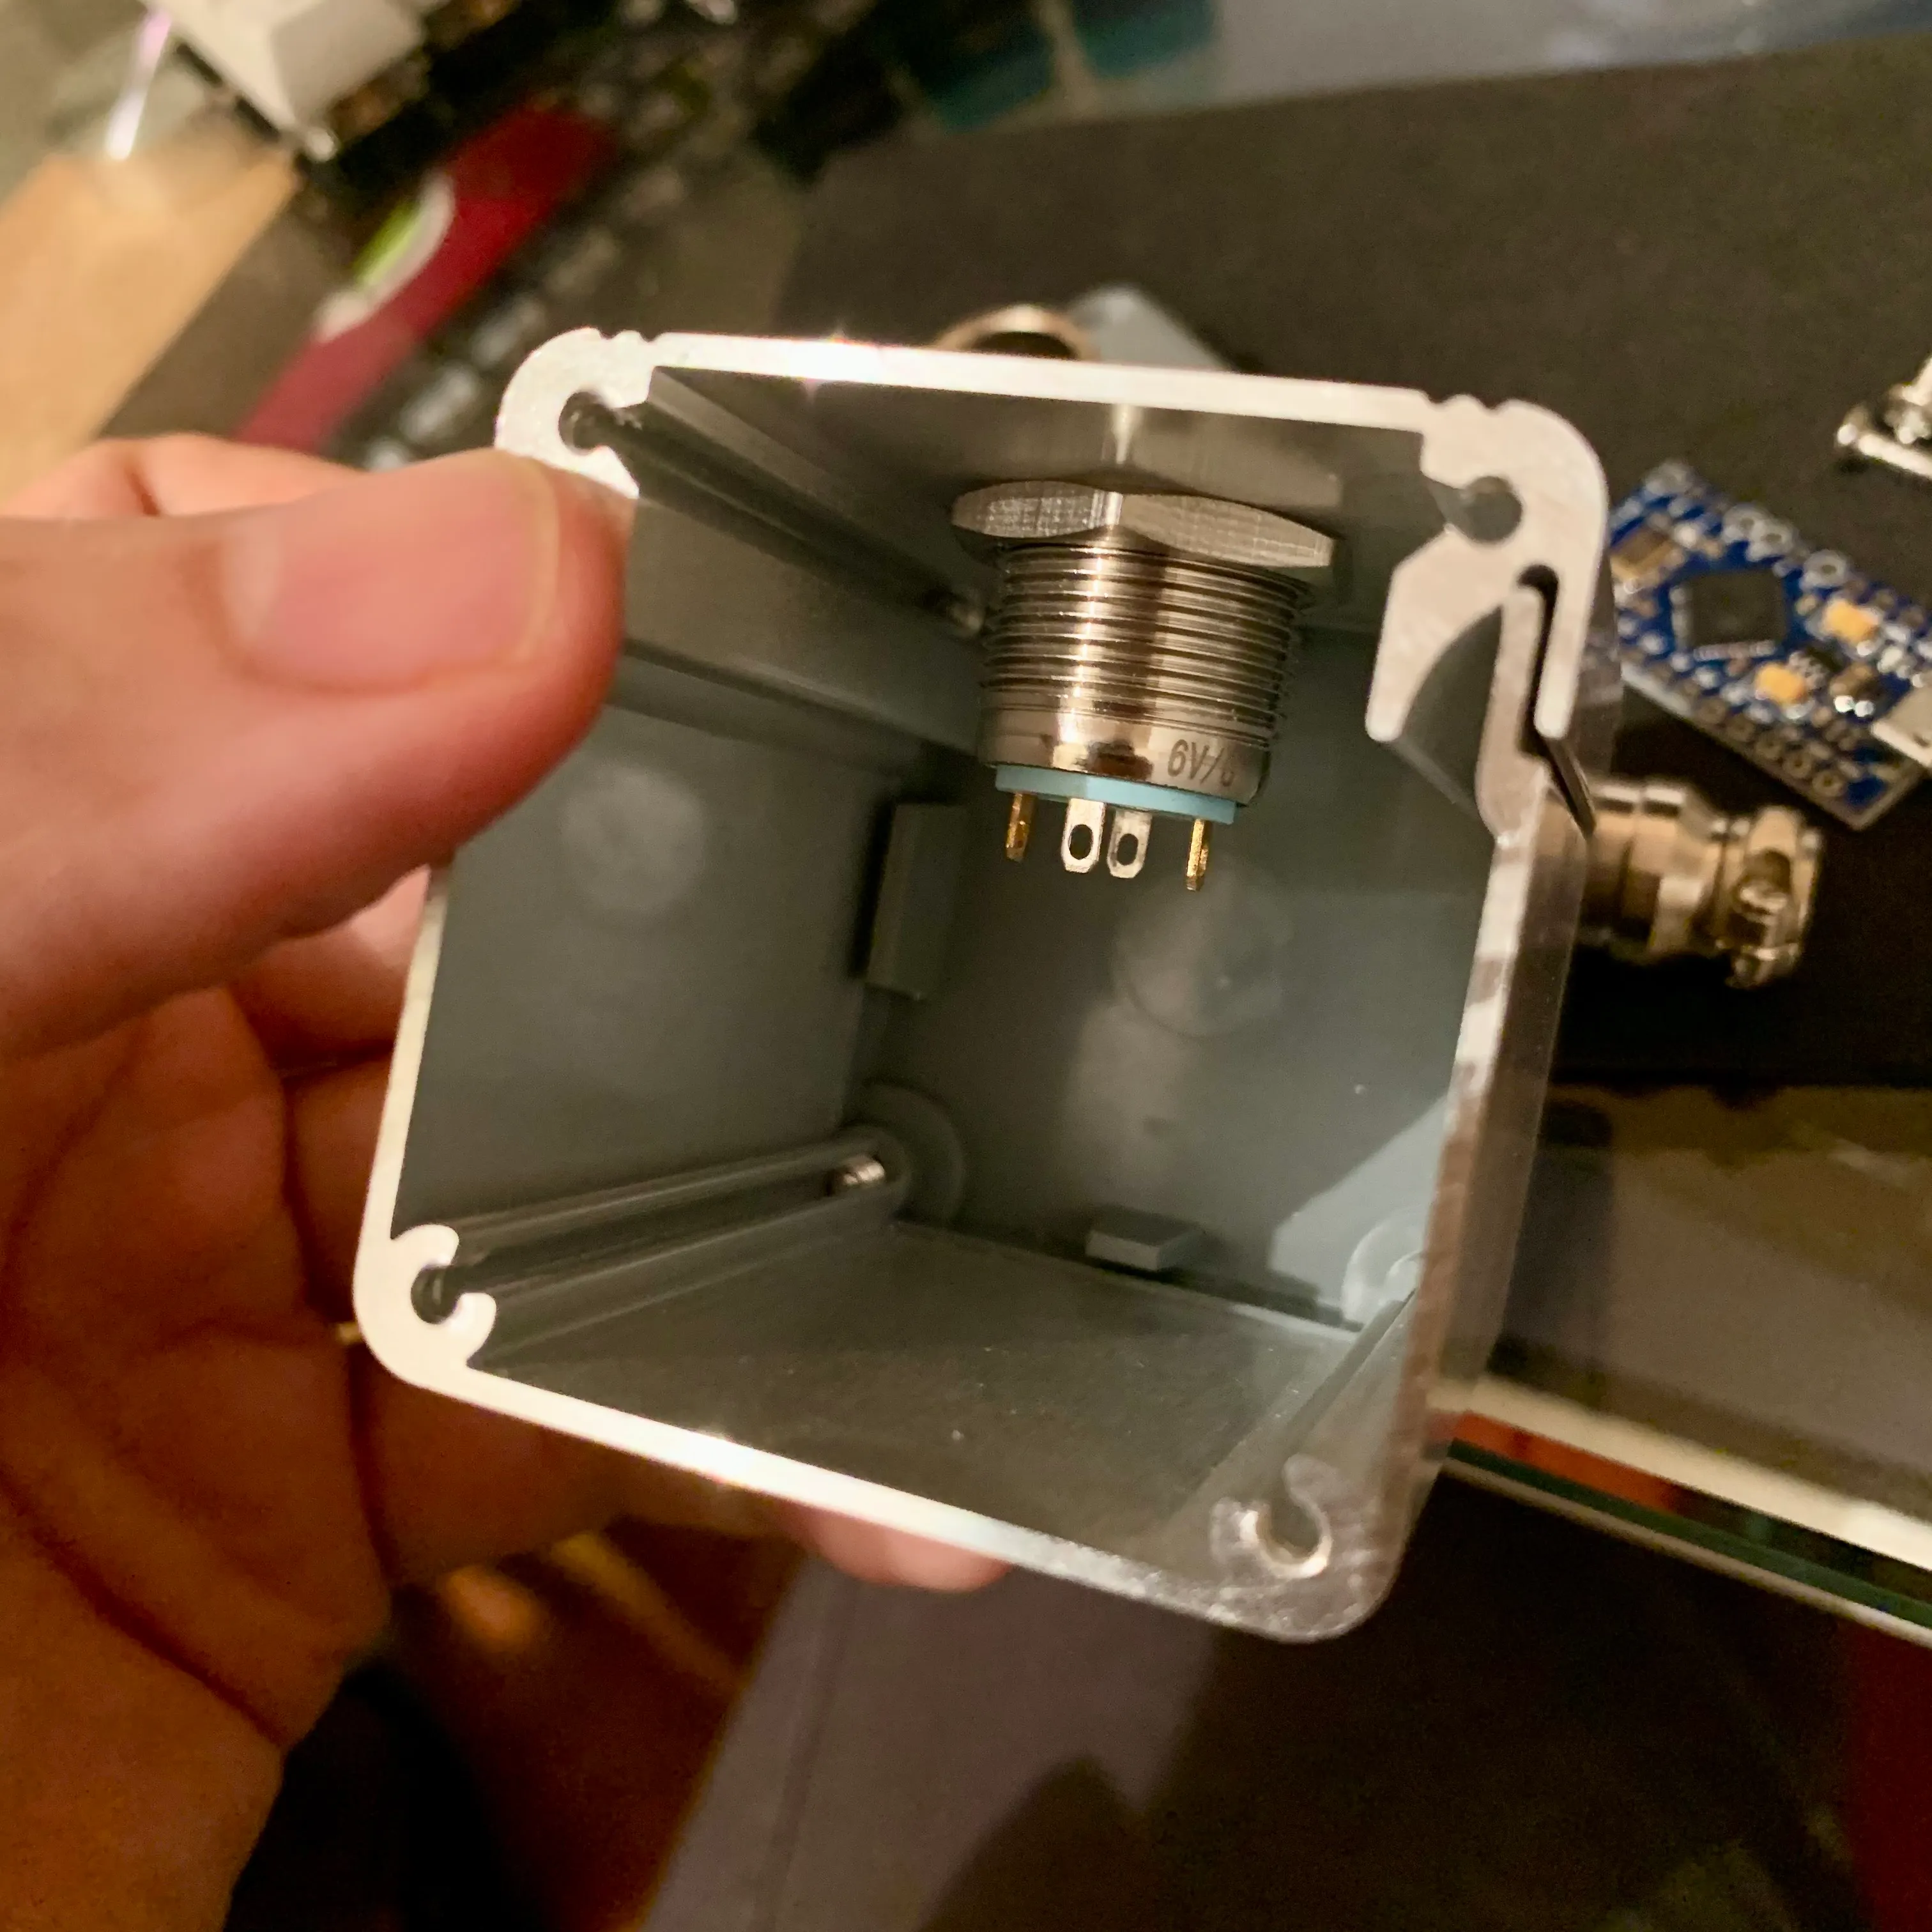
- 1 x metal button with green LED (make sure to get the 6V version, otherwise the Pro Micro won’t provide enough juice for the LED light). This button is quite sturdy and feels like it will last forever. The diameter is 16mm, which fits the industrial look I wanted to use (and the box I chose), but there are smaller buttons available from the same vendor.
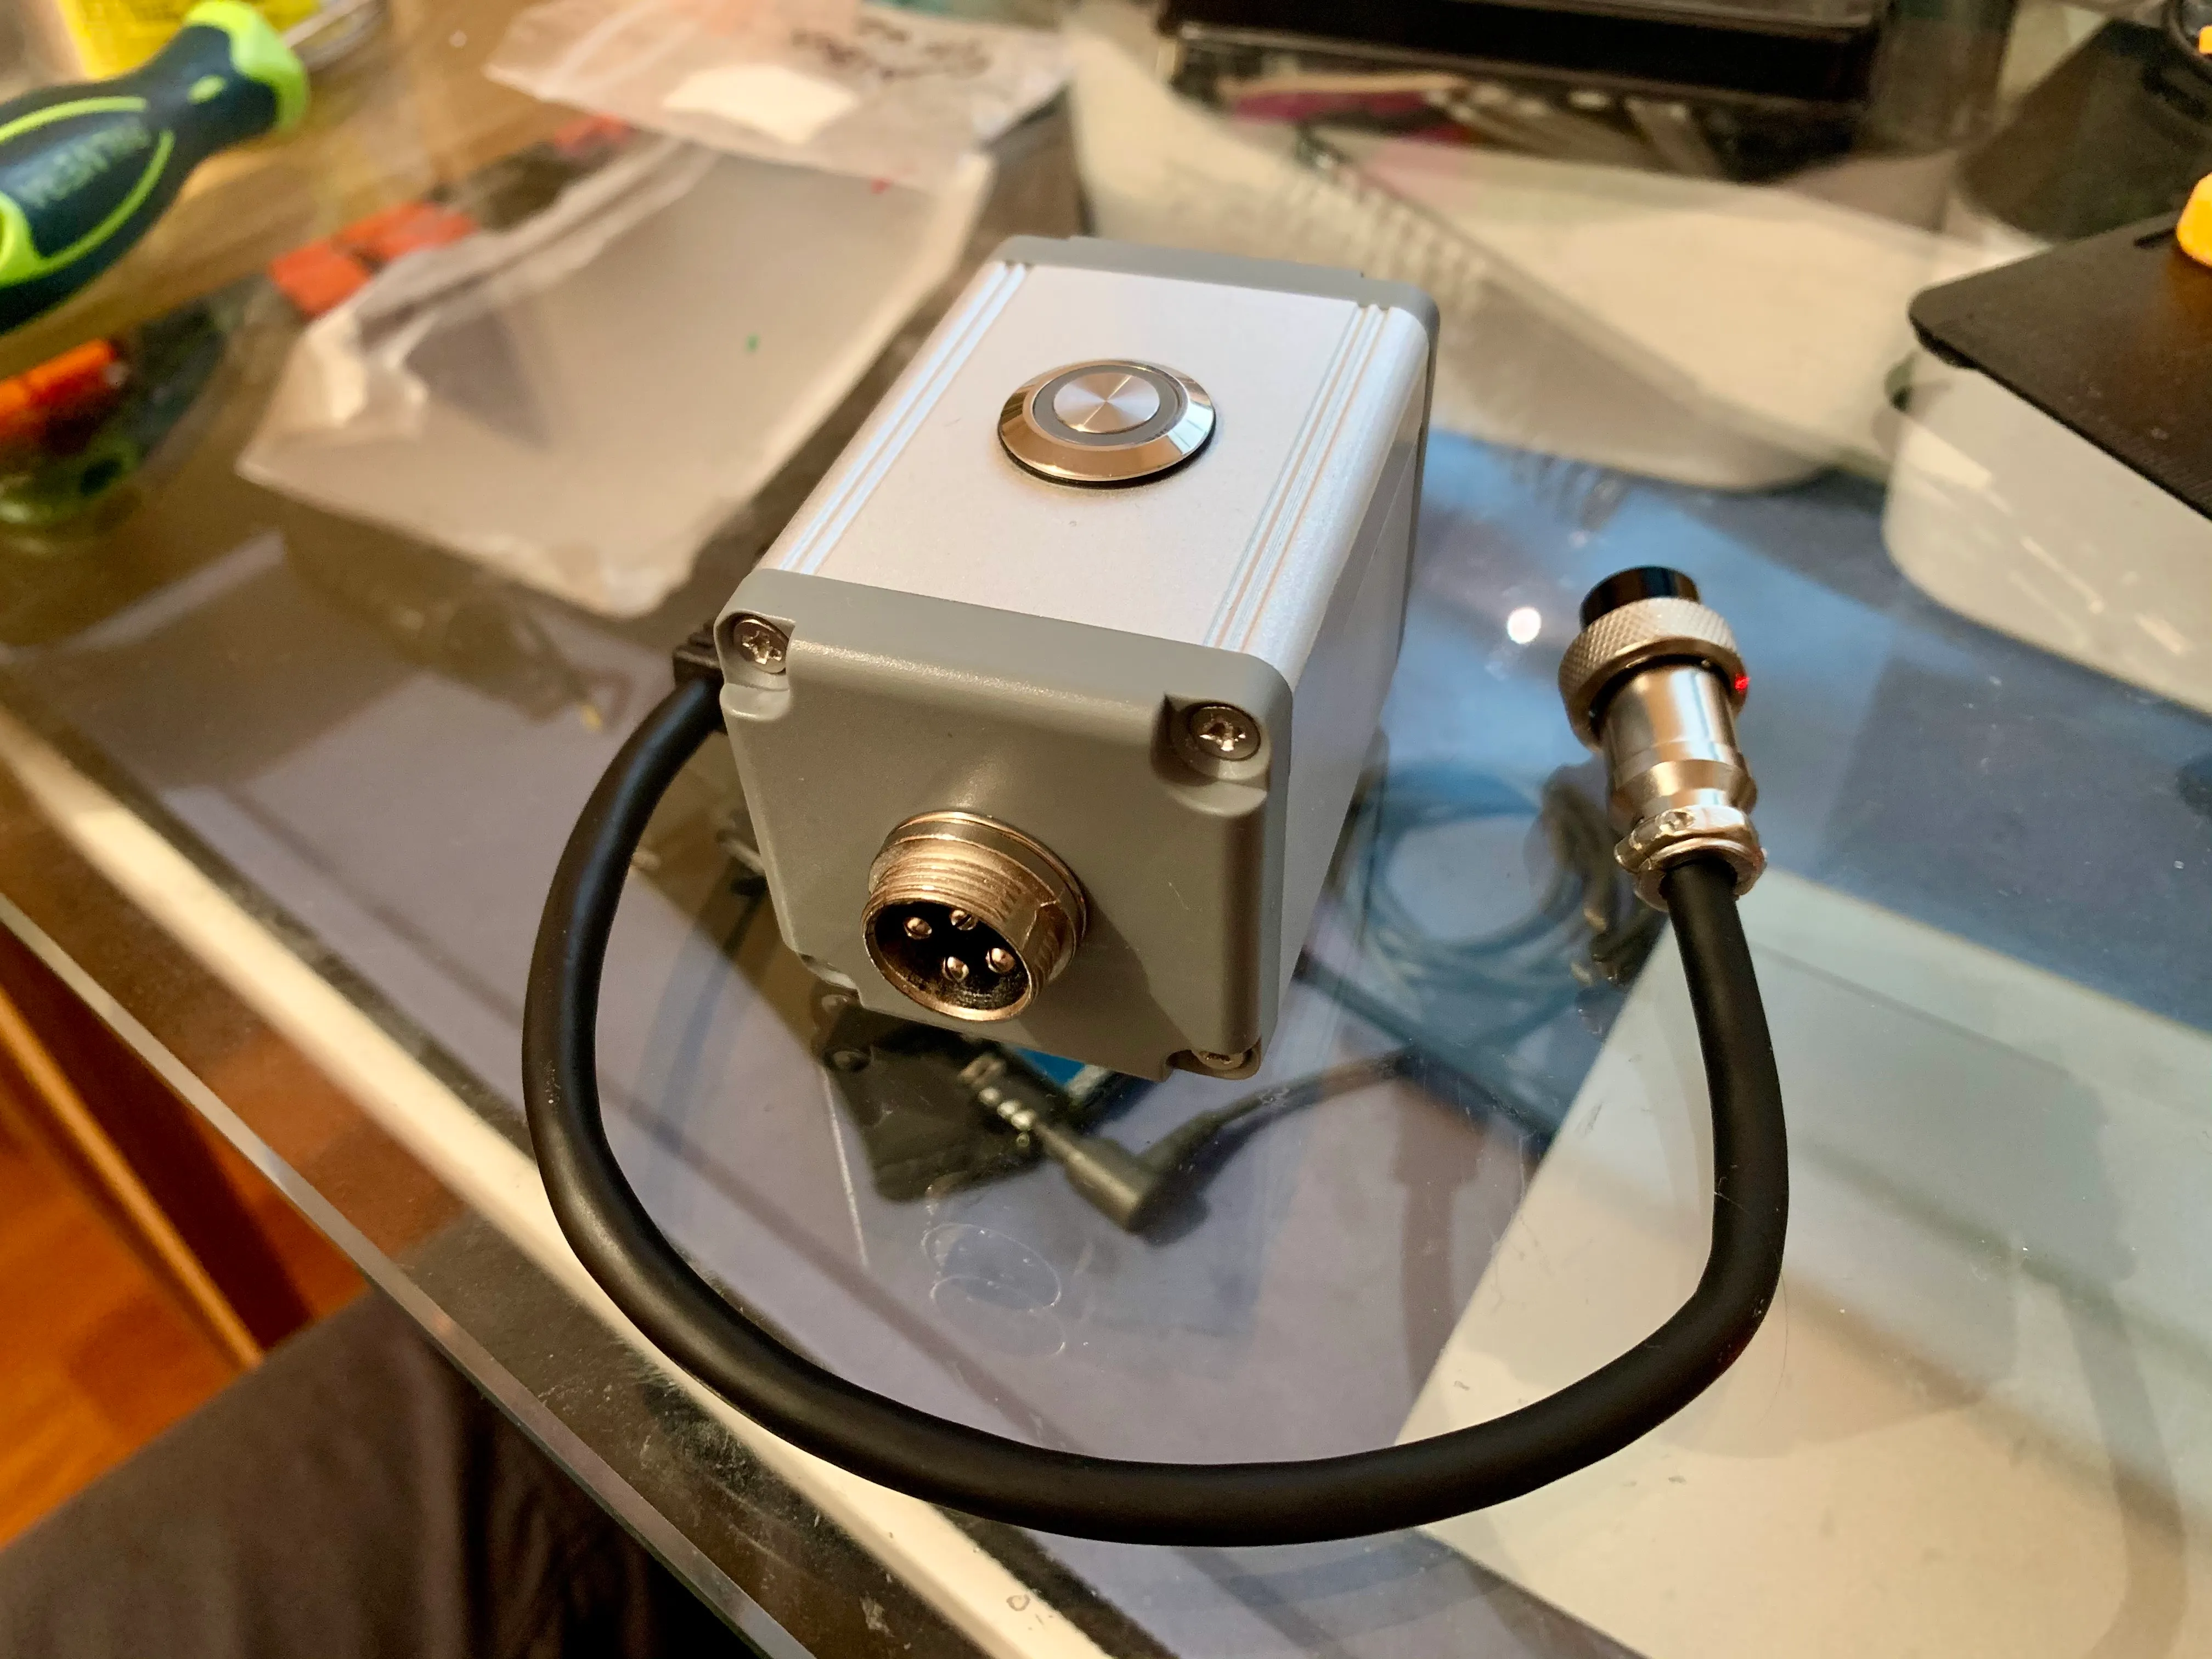
- 1 x aluminium box. My first impulse was to use a stomp box, but then I found these amazing boxes than come pre-drilled for 16mm buttons and could not pass on them.
- 1 x GX16 connector. Make sure you get the 4 pin version, you’ll need them for the USB data cable. If you’ve never soldered an aviator cable, this video is a must watch. I had to make the hole on the side of my box a bit larger using a Dremel, and in retrospect maybe I should’ve gone with a GX12 connector (which is thinner and probably easier to put together). You can 100% skip this and use a micro USB to USB cable, my choice was only based in aesthetics.
- 1 x micro USB to USB cable, which you’ll sacrifice by cutting it in half. Pick one with the smallest possible plug on the micro side, or it won’t fit in the box.
Software
My first prototype used QMK, since that’s what I’ve been using for all my keyboard hacking this year. I used the firmware for the Ferris Sweep Compact keyboard, since I was working on one at the time and it is one of the simplest keyboards in the repo (it doesn’t even use diodes).
But I’m not a fan of waste, and it felt overkill to use QMK for this project. Also, I wanted to play with Arduino code at some point, and this felt like an easy project to get started. Accidentally, I learnt that using Arduino means I don’t have to put the board in DFU mode to flash it (as is the case with QMK). That is extremely convenient, since you can then update the software without disassembling the box.
I found this article really helpful (I ultimately ended up doing things slightly different, but it’s a good intro anyway). I did not need to implement debouncing code on my button, as recommended on the article, but your mileage may vary.
Here’s the code I’m using on the Arduino board:
#include "Keyboard.h"

const int buttonPin = 2;
int buttonState = 0;
int prevButtonState = HIGH;

char *sentences[] = {
  "One\n",
  "Two\n",
  "Three\n",
  "Four\n",
  "Five\n",
  "Six\n",
  "Seven\n",
  "Eight\n",
  "Nine\n",
  "Ten\n",
 };

void setup() {
  pinMode(buttonPin, INPUT_PULLUP);
  digitalWrite(buttonPin, HIGH);
  Keyboard.begin();
}

void loop() {
  buttonState = digitalRead(buttonPin);
  if ((buttonState != prevButtonState) && (buttonState == HIGH)) {
    int n = random(10); // Remember to change this if you modify the length of `sentences`
    char *sentence = sentences[n];
    Keyboard.print(sentence);
  }
  prevButtonState = buttonState;
}
One last thing: make sure to test the device on the target machine, especially if it is using a different keyboard language than the one you’re using on your development machine 😅
Have fun!